Planning
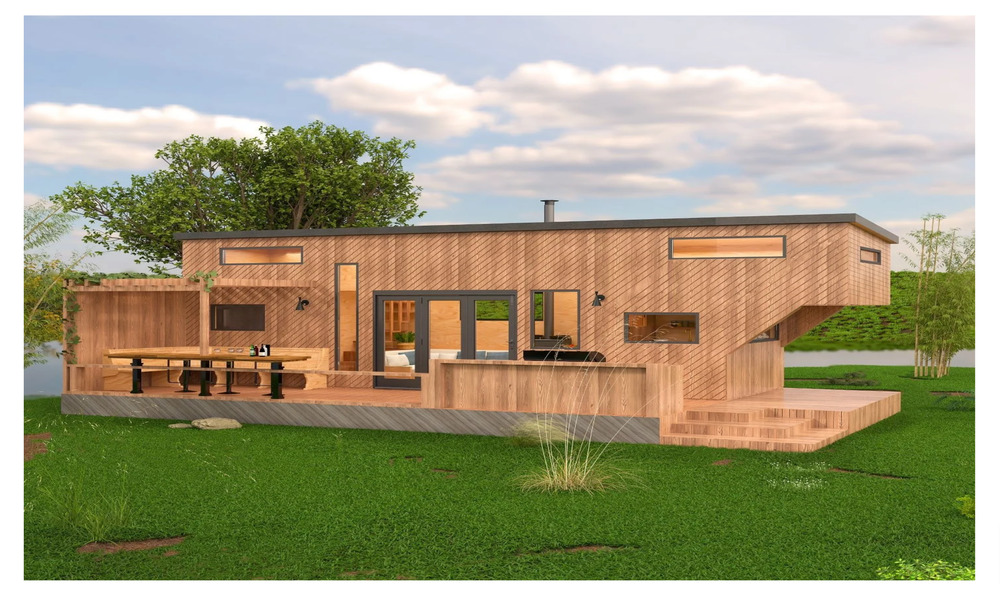
The definitive guide to planning permission for tiny homes in the UK.
Everything you need to know about land use, building regs, and what councils actually care about.
Read the guide
112 homes. 245 stays. 25 builders. Honest advice.
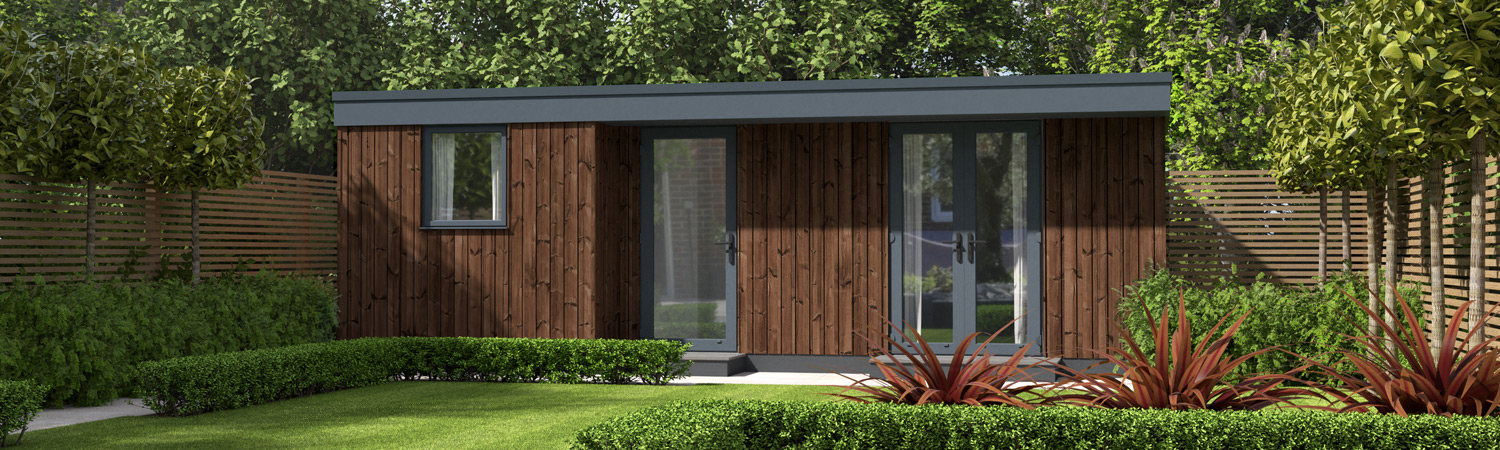
Everything you need to know about land use, building regs, and what councils actually care about.
Read the guide

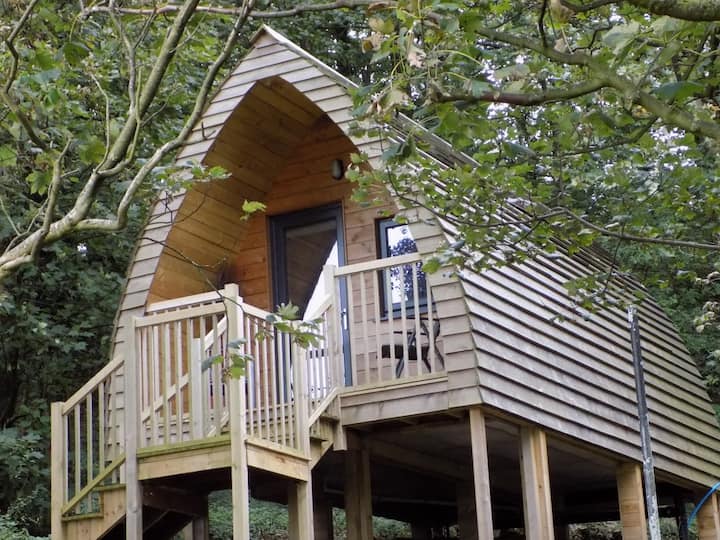
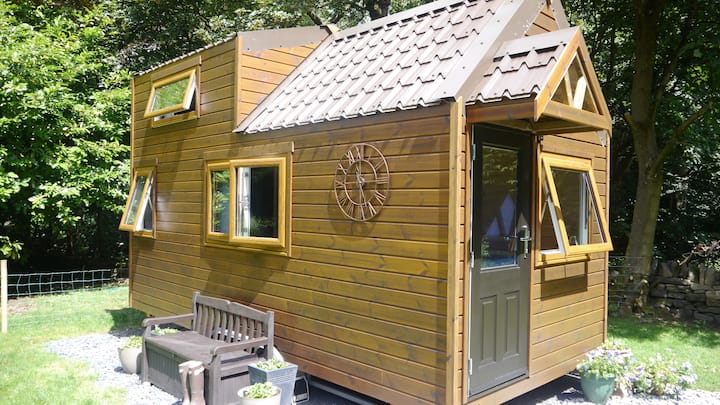
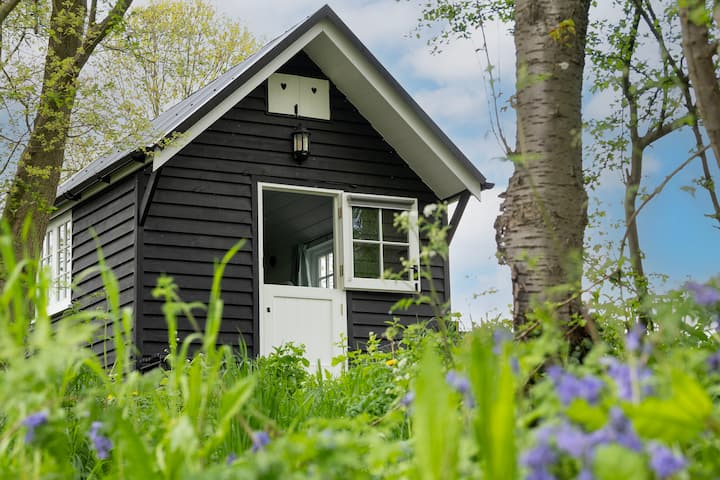
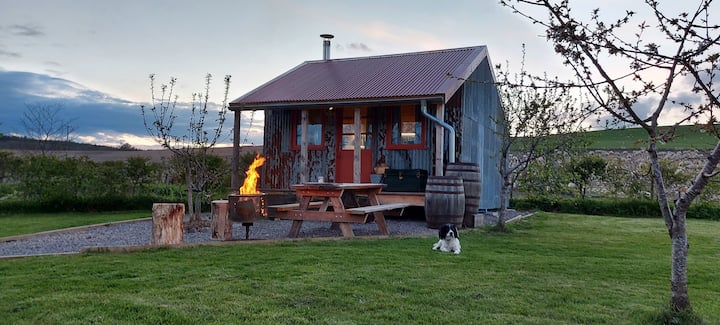
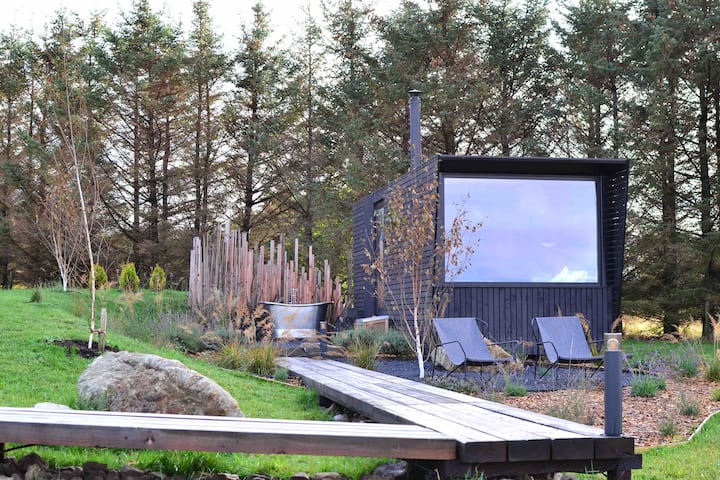
Try tiny living before you commit. 245 cabins, huts, and unusual stays across the UK.
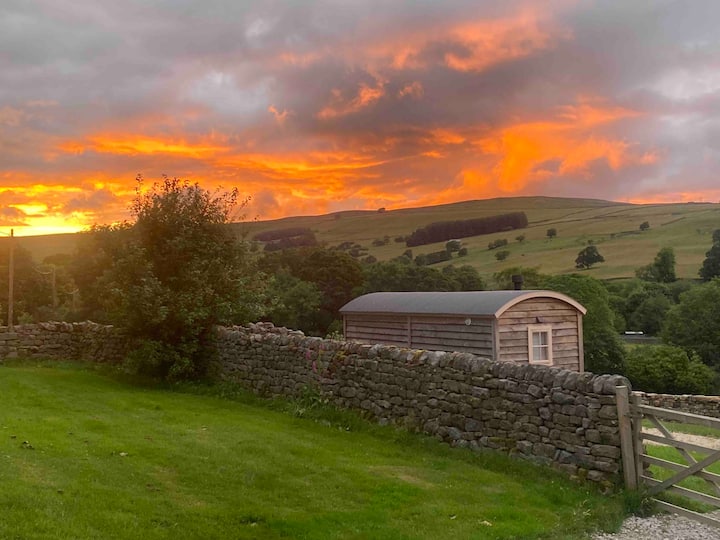
Most people spend months researching before they even speak to a builder. We've done the legwork so you don't have to.
Read our beginner's guide